The curtains have just closed on this year’s VeeamON in San Diego and excitement is in the air. One major highlight that has everyone talking? The announcement of the Veeam Backup & Replication Version 13 and the availability of its public beta! As soon as it was available, I couldn’t resist getting my hands on it—and today, I finally carved out some time to dive in and explore its capabilities.
Let me tell you, Version 13 is shaping up to be a real game-changer. With its refined look, intuitive feel, and new impressive features, great things are undoubtedly on the horizon.
So, buckle up as we dive into the look and feel of this transformative new release.
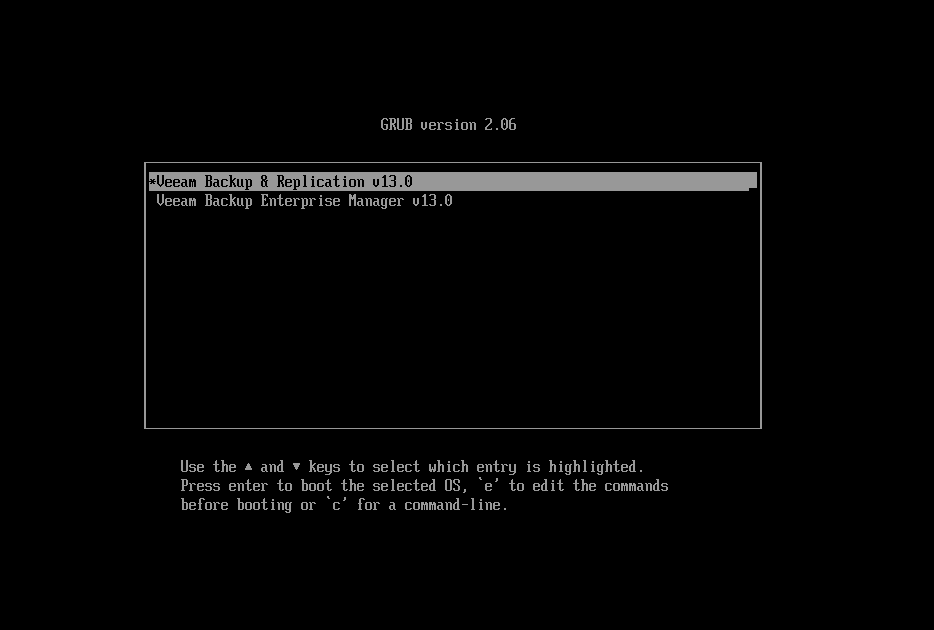
First of all the most obvious change is that the new version will be available on Linux, in detail it’s based on Rocky Linux. What I’ve learned from the keynote is, that a Windows-based version will be available as well, especially when it comes to upgrade an existing environment.
I configured a virtual machine with VMware Workstation and connected the ISO to its DVD drive. The first issue I experienced was that only UEFI-based VMs will work. So I added the line firmware=”efi” to the vmx-file, which solved the issue. From the ISO file you can install Veeam Backup & Replication or Veeam Enterprise Manager, which is now based on Linux as well.
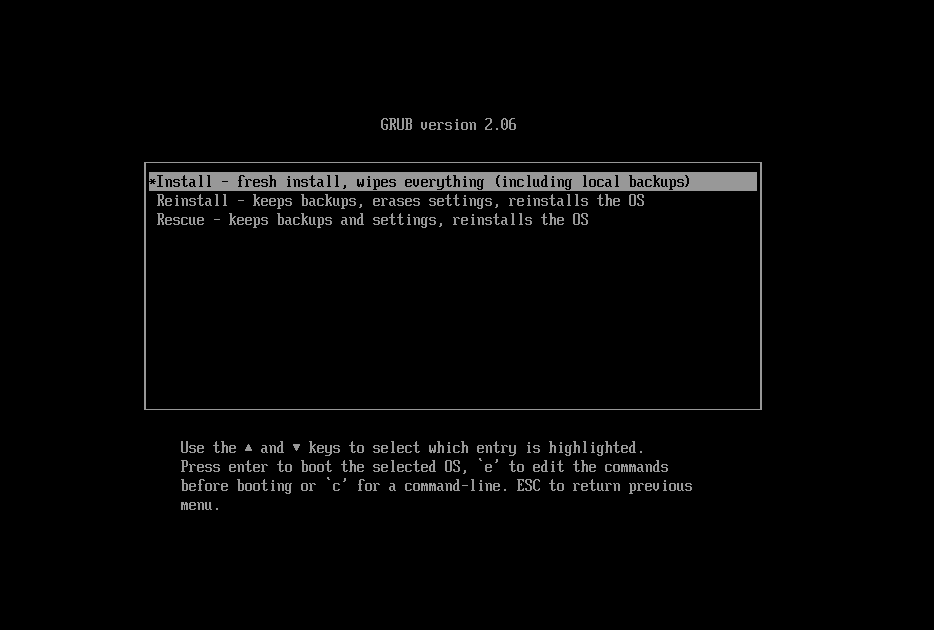
Once the deployment was complete, I decided to boot the ISO again to see what would happen if I initiated the installation process a second time. This revealed some noteworthy repair and rescue options, along with the ability to start fresh if needed.
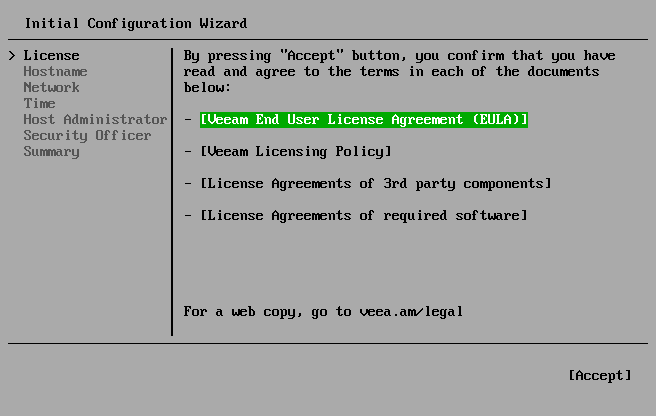
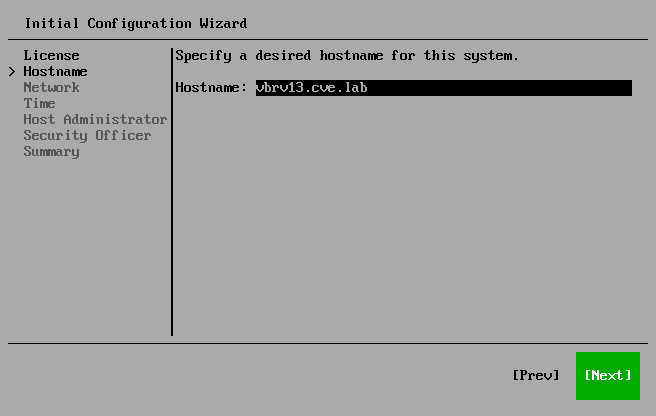
But now let’s take a look into the tui-based installation configuration wizard. I had to setup only the basics like hostname, IP address and passwords. So worries about that! Right to the start I have to accept the legal things.
On the next step you have to configure the hostname of your backup server.
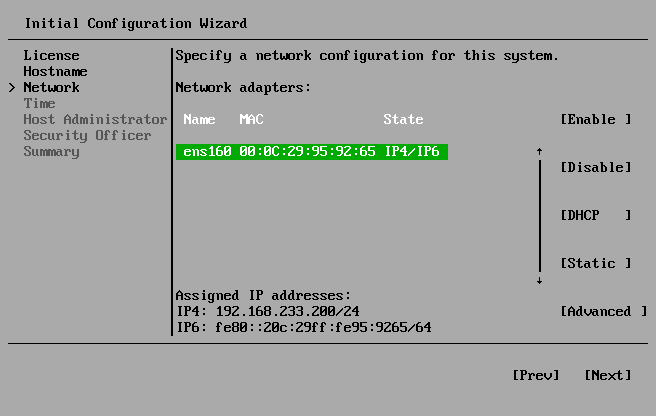
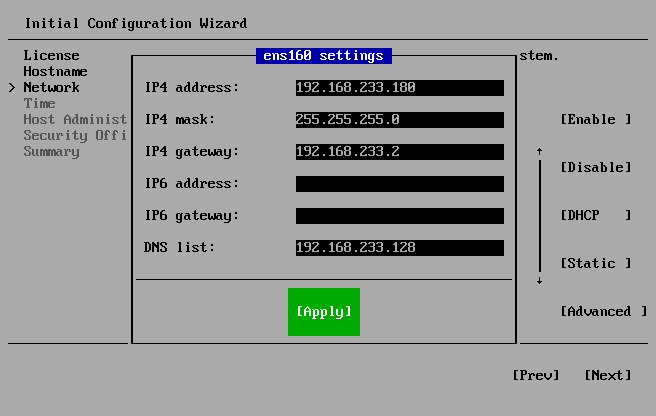
An IP address should be configured to make to your backup server available on the network.
When setting up your version 13 environment, it’s critical to ensure proper time synchronization. This step becomes especially important when configuring Multi-Factor Authentication (MFA) later in the process. While I missed capturing a screenshot for this step, the setup is straightforward and vital for system functionality.
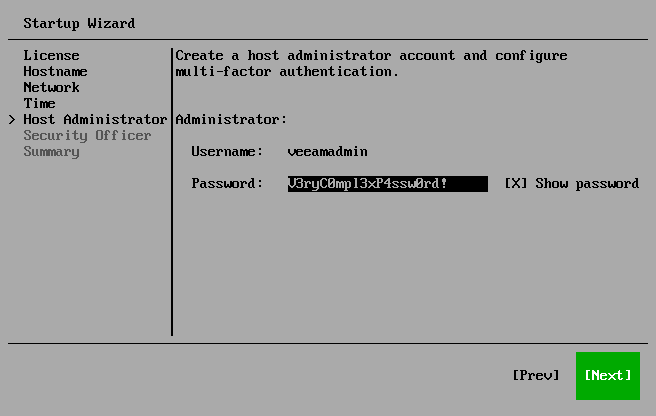
Moving on, the next configuration task involves setting up the veeamadmin user, the primary user in the system. It’s worth noting that the password for veeamadmin must meet DISA STIG compliance requirements to proceed further. These stringent standards ensure the system remains secure and compliant with recognized cybersecurity guidelines.
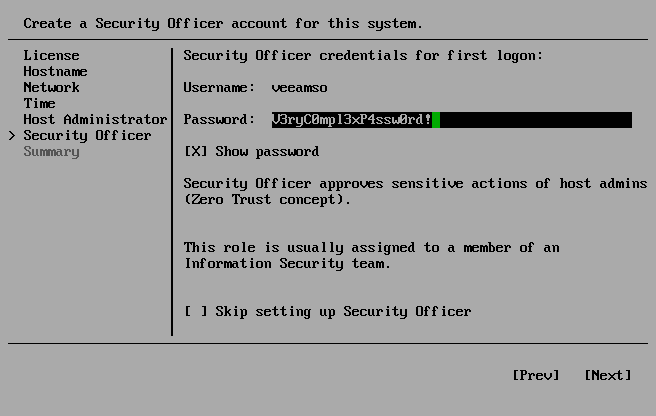
Moving to the next step, a new role—the Security Officer—came into play. I had to set up a DISA STIG-compliant password for this user, ensuring alignment with stringent security standards. It’s important to highlight that configuring this user is optional, but the decision to skip it is irreversible.
If you choose to enable the Security Officer account, every destructive action in the host management console—such as enabling SSH, modifying configuration files, or starting the backup service—will require approval from the Security Officer. This additional layer of security enhances control and oversight over critical operations. Security officer does not have access to Veeam Backup & Replication.
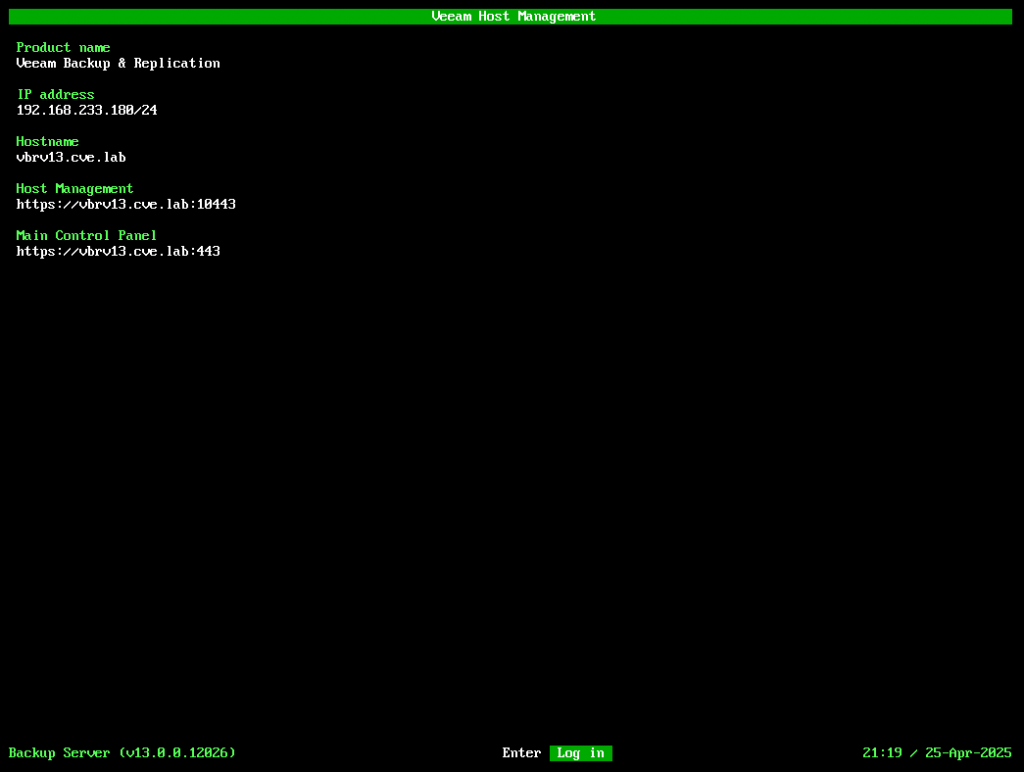
At the end of the wizard I got a summary of the configured settings and after that I was finished with initial configuration wizard.

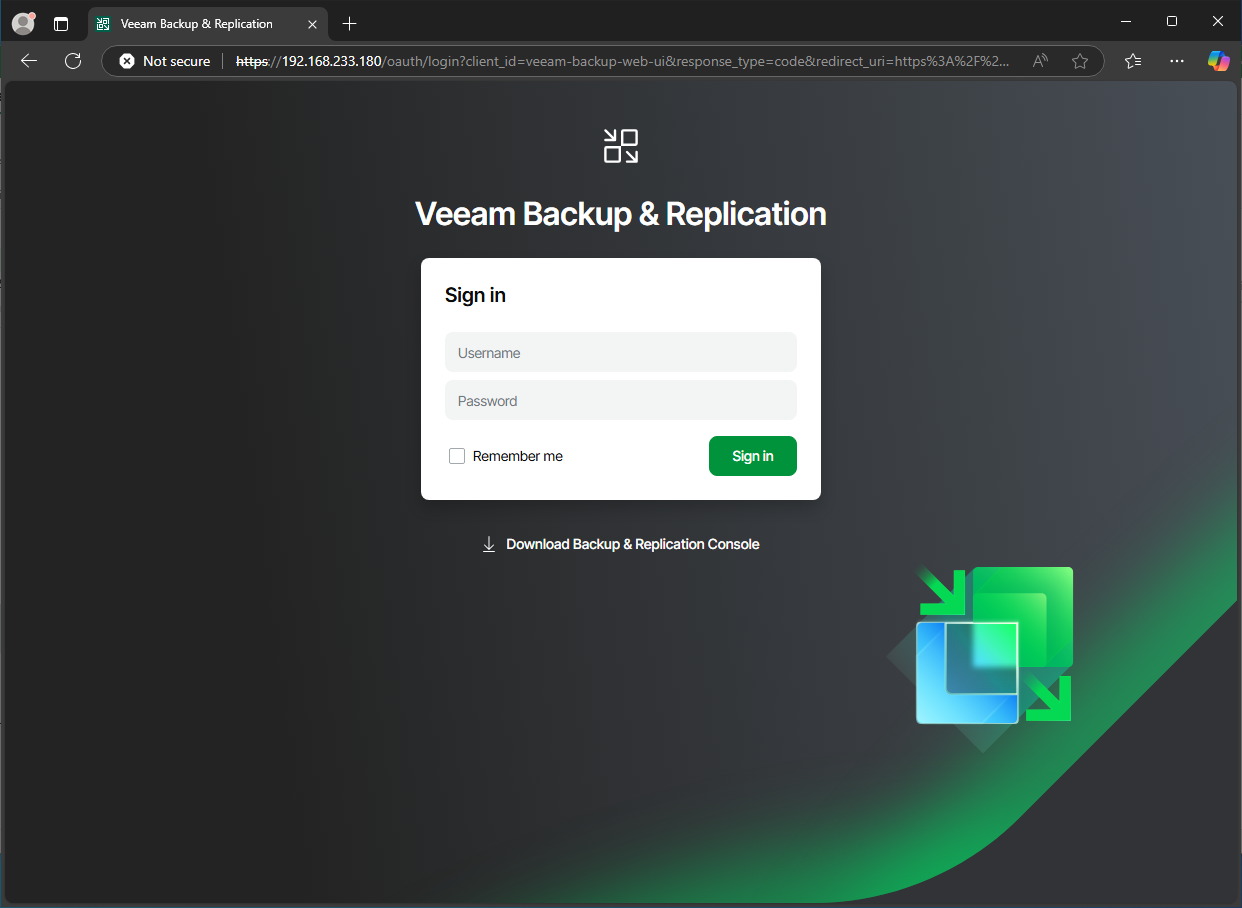
After a short period of time everything was done the backup switched to this screen and told that I can you the WebUI now.
To summarize the setup process of this first beta version, I’d call it unmistakably Veeam-like! It was as easy and straightforward as I’ve come to expect from Veeam. The intuitive flow and user-friendly configuration made the experience seamless, even in its early beta form.